If you're among the ones who like macro photography but cannot afford macro lens, then you've landed on the right place.
This post is about how you can get your completely working macro lens in minutes without spending any money.
Lets start -
1. Grab one binocular (they are easily available and are not expensive). Do not worry about quality of binocular, any will do.
2. Unscrew a lens from binocular (big one which is far away from your eye).
3. Take out lens and take some tape and stick it to your camera lens as shown in the images below.
You're done. You just made a macro lens for your camera.
Photos by wvcoalminer
If your camera lens is smaller or bigger than the binocular lens, then it can create a problem in sticking the lens to camera. In that case try to apply more thick tape to join the end of the binocular lens and your camera lens and should try that your lens is stable and not loose.
If your camera lens is smaller or bigger than the binocular lens, then it can create a problem in sticking the lens to camera. In that case try to apply more thick tape to join the end of the binocular lens and your camera lens and should try that your lens is stable and not loose.
The end result is some INSANE depth of field at only about 1 inch away from your subject and some awesome macro shots and it all costs $0 (if you have a binocular).
You must put your lens on MANUAL FOCUS and play with your zoom/focus to get your subject in focus but once you get it you will get some amazing shots.
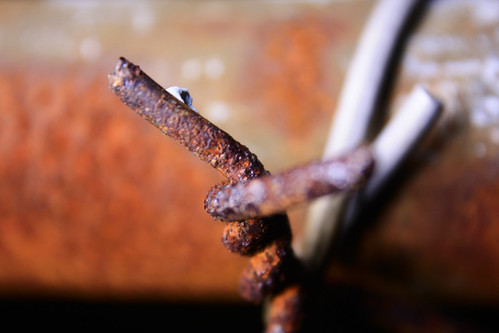
Below are two macro images by wvcoalminer which were taken using this trick.
Note: - I am not the inventor of this trick, I found this trick on DPS Forum written by wvcoalminer and thought to share it here. However, I have written it in my words but all the images used in this tutorial are by wvcoalminer.


Post a Comment