
An autostereogram is a single image that gives an illusion of depth. A3d object pops out or, more frequently, pops in what looks like a plane of random dots or a pattern. The illusion is created because eye is tricked into focusing on an imaginary object that appears to be further depth than the plane at which the image is held.
Requirements -
StereoMaker - The site is in spanish, but the installer has support for english language.
An autostereogram works on two components, a depth mask and a pattern.
Making or Choosing A Depth Mask
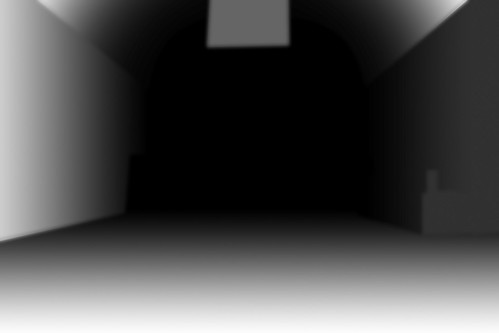
The depth mask is an image which contains the 3d information in a greyscale gradient. There are many free depth masks available on the internet but you can create your own easily. A white word against a black background is a simple and effective depth mask. If you are looking to create something fancier, make a pattern out of different shades of grey in an image editing program. You can also use Photoshop. You can also make a depth mask using 3D software you are comfortable with. Keep it simple. Below is a example of a very simple depth mask.
Making or choosing a pattern
The pattern has all the magic of autostereogram. Choosing a tile like the logo of your company won't work. What you need is a pattern which is fairly malleable, or random. This is because the autostereogram gives the illusion of depth by shifting the pixels in the pattern by a different degree in different positions of the plane. It is not neccessary to choose a tileable pattern. One easy way to create a pattern in photoshop is to go to Filter > Noise > Add Noise and deselect Monochromatic. Enlarge the resulting image a bit, tweak the colours or Hue/Saturation according to your choice. This will choose the appearence of your autostereogram. Selecting a pattern that ties with the 3D image makes sense. Sites like www.backgroundcity.com have a lot of free tileable textures.
Creating The Autostereogram
StereoMaker works like a wizard. The opening dialogue has size and stereogram type options. 640 X 480 should be good for most purposes - like printing or uploading on the internet. Select the "Textured" radio button to use a custom texture instead of random coloured or monochrome dots. Then click on next. Choose the depth map in the dialogue box here. There are list of preset depth map that comes bundled with StereoMaker, choose one of these or navigate to folder where you stored your depth map, and choose that. Next, is the dialogue box for the pattern. You can choose any other pattern you deem fit for your purposes. Next comes the dialogue box for setting Advanced Options. For printing purposes, increase the dpi from 72 to 300. For displaying on web, change the observation distance from 36 to 30 cm. Lower the maximum depth to make shallow or subtle autostereogram. Click on next, and a pop-up with your autostereogram appears. Right-click on the image to save as JPG or BMP file. Choose 20% compression for print purposes and 60% compression for web use.
Other Resources
Head over to easystereogrambuilder for an online autostereogram generator. You can also make text-based autostereograms here.
Here is an example of autostereogram -
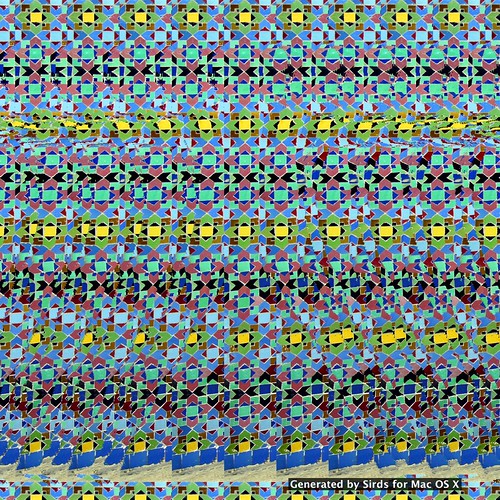 Photo by timtom.ch

Post a Comment