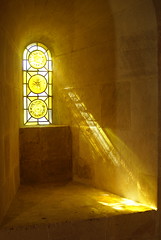
 The wrong lighting can cause your primary subject to be underexposed or overexposed. Light is the most important thing in digital photography and video recording. A good lighting can get a pro looking image or video out of a low budget camera and in bad lighting, video or image shot by a pro with an expensive camera also looks as if taken by a newbie.
If you're setting up lighting for indoor shots, there are four different light sources you need to keep in mind :
1. The Fill Light
True to its name, a fill light fills the scene with ambient light, and doesn't cast any shadows. In the daytime, the sun is your fill light-sunlight bounces around your house lighting up everything, so you don't have to bother about lighting ever nook and cranny. In the evening or at night, you can use a fluorescent lamp as the fill light.
2. The Key light
This is the light that will lay emphasis to the details on the main subjects of the scene. The key light is the brightest light in the scene, and it's what you'll be using to play with shadows and high lights, and you should invest a lot of time in setting this up.
3. The Background Light
This light is placed behind the subject to soften any unwanted shadows.
4. The Rim light or Kicker
This one is optional. The rim light is also placed behind the subject, and it adds definition to the subjects' edges. In the case of humans, it shines through hair (or on bald heads) for a halo-like effect.


Post a Comment